IN THIS VERSION
- SD Card breakout
- Completed state machine
- Standalone microcontroller
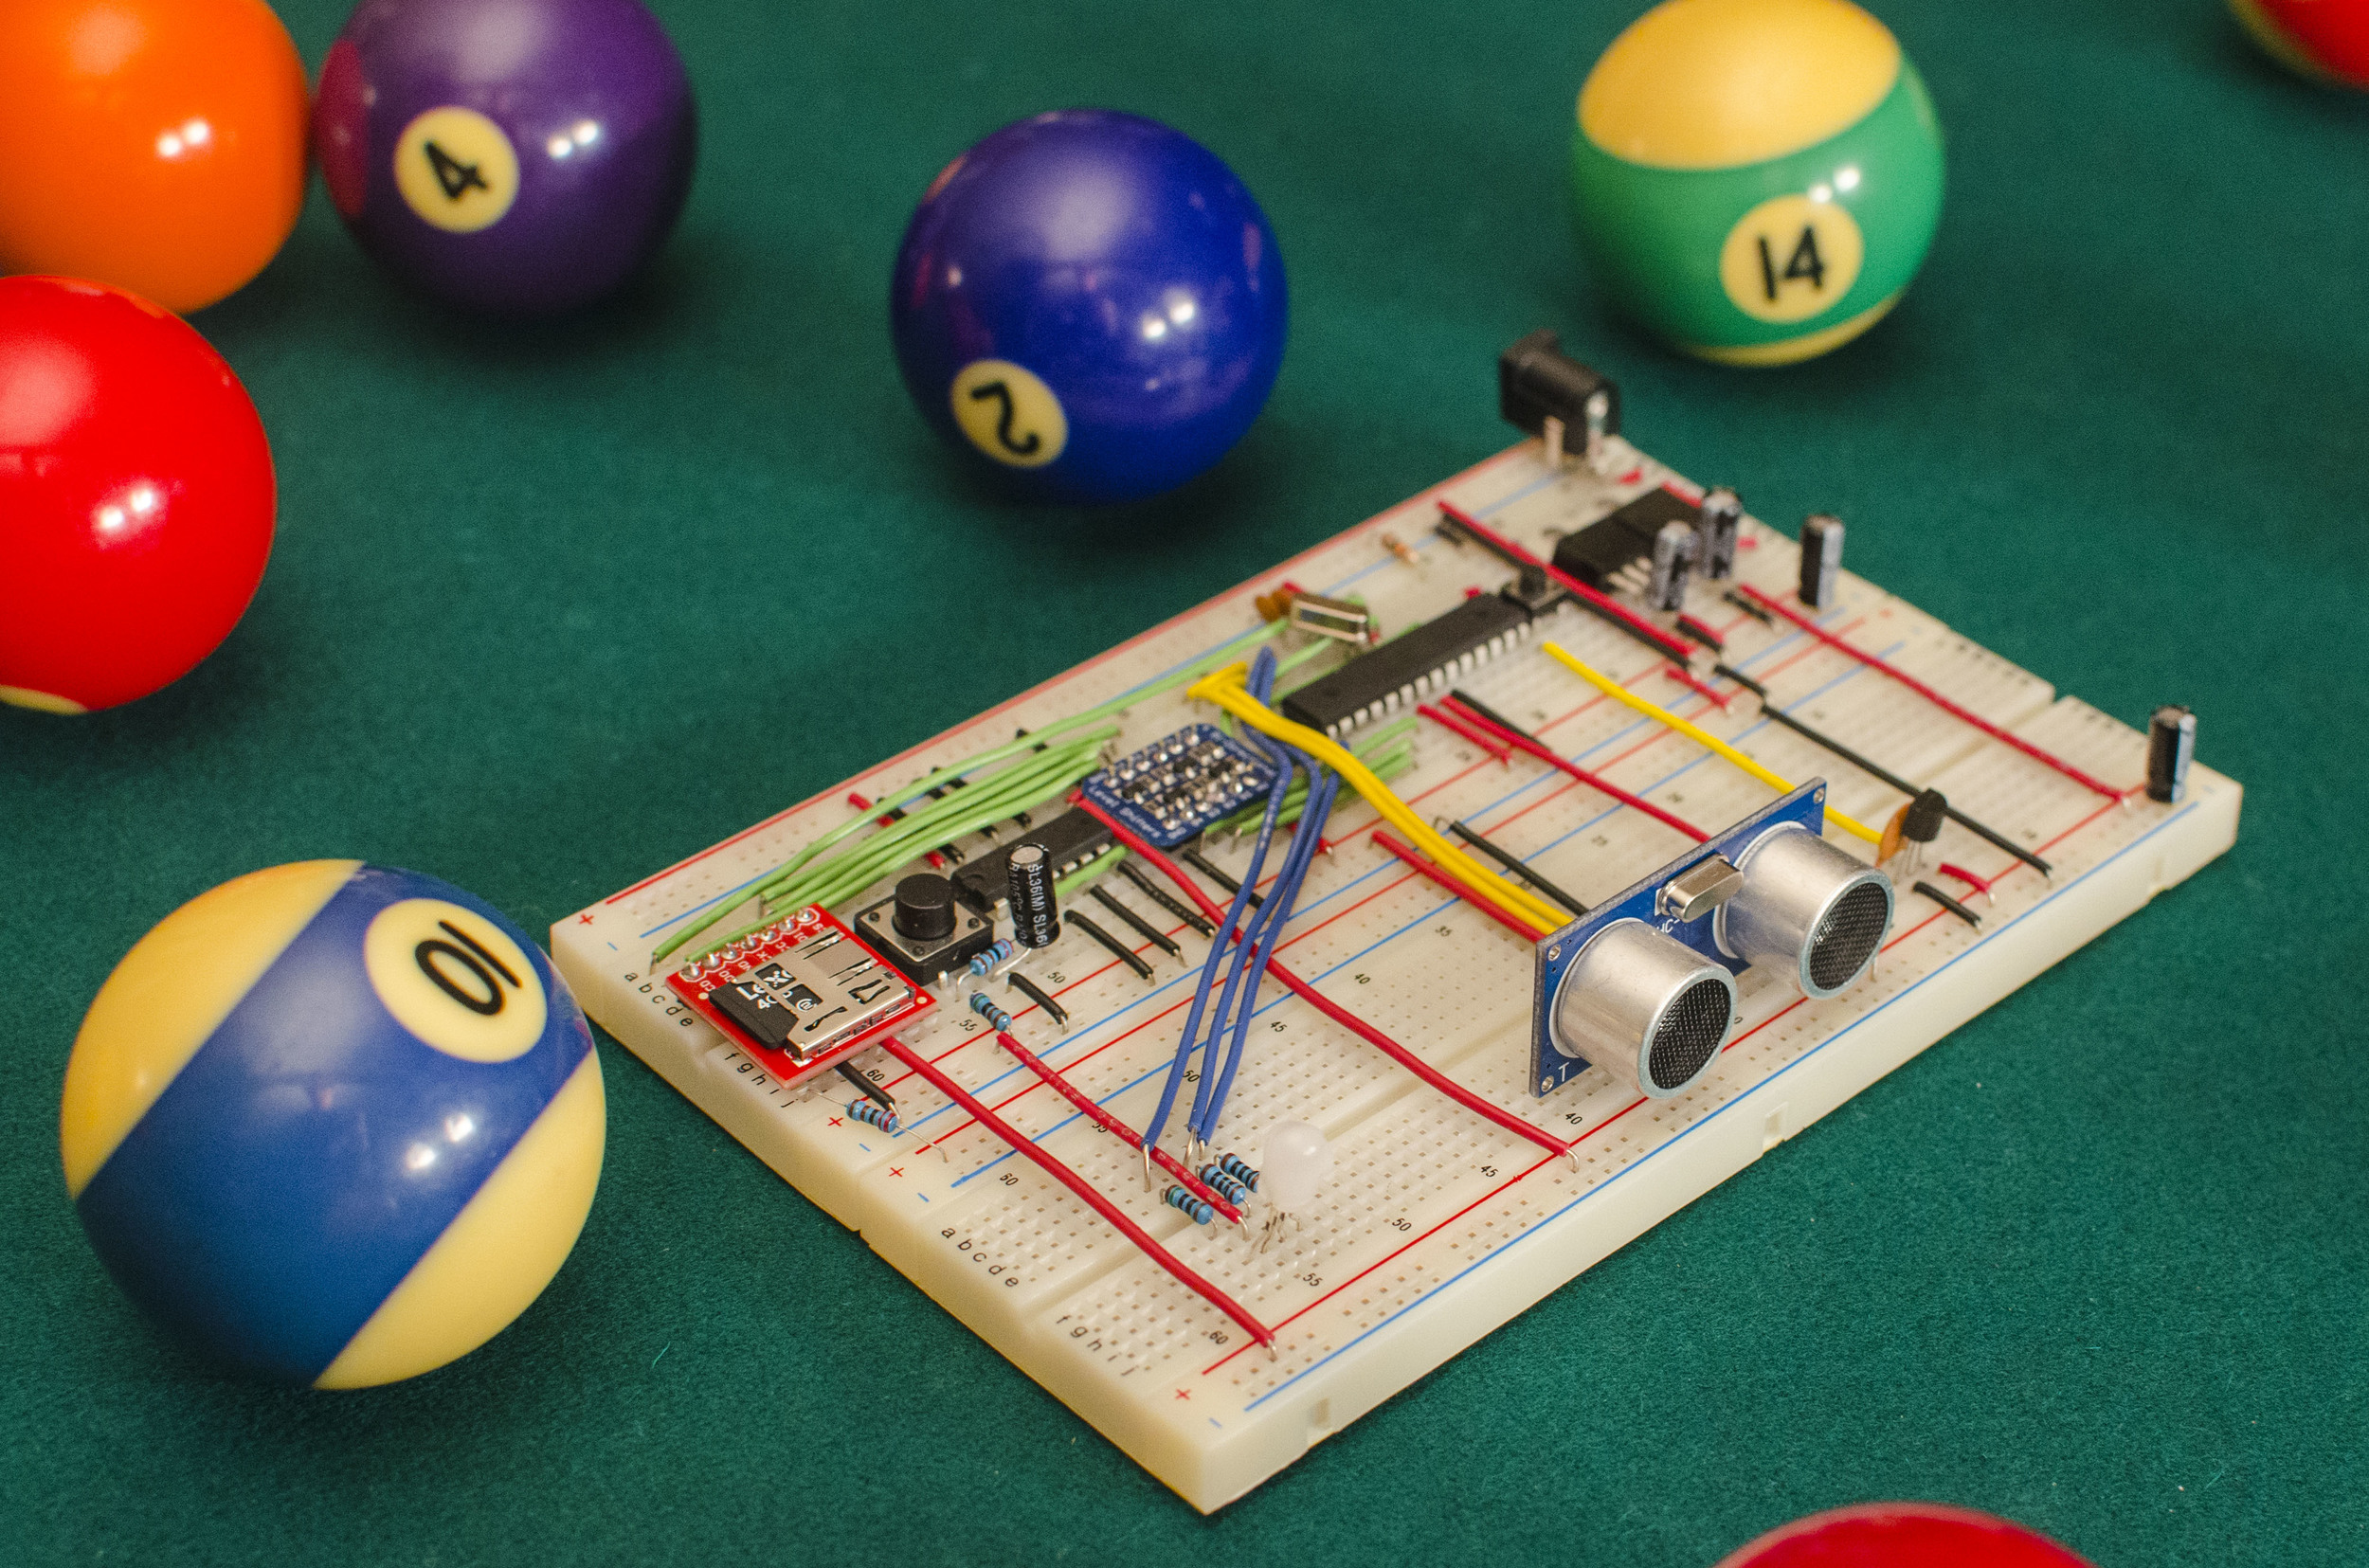
SD Card Breakout
The first hardware change was implementing a Micro SD socket breakout instead of using the built-in Micro SD socket on the LCD screen. The new breakout provides access to the Card Detect pin that allows me to determine if an SD card is inserted. I can then use interrupts to quickly transition between the No SD Card and SD Card Setup states when the card is removed or inserted, respectively.
Because SD cards operate on 3.3V but the microcontroller outputs 5V, I am using a level shifter to feed the SD card the correct voltage (and not damage it). My online research showed that using a level shifter was necessary because a simple two-resistor voltage divider would not produce a sufficiently clean signal when sending data. This in-turn could produce unreliable results on some cards. Level-shifting is additionally a much more energy-efficient solution than voltage dividers.
Completed State Machine
Now that all the major hardware components have been implemented, I finished the state machine on the software side. The diagram below shows the Quantus state machine and the LED pattern that corresponds with each state.
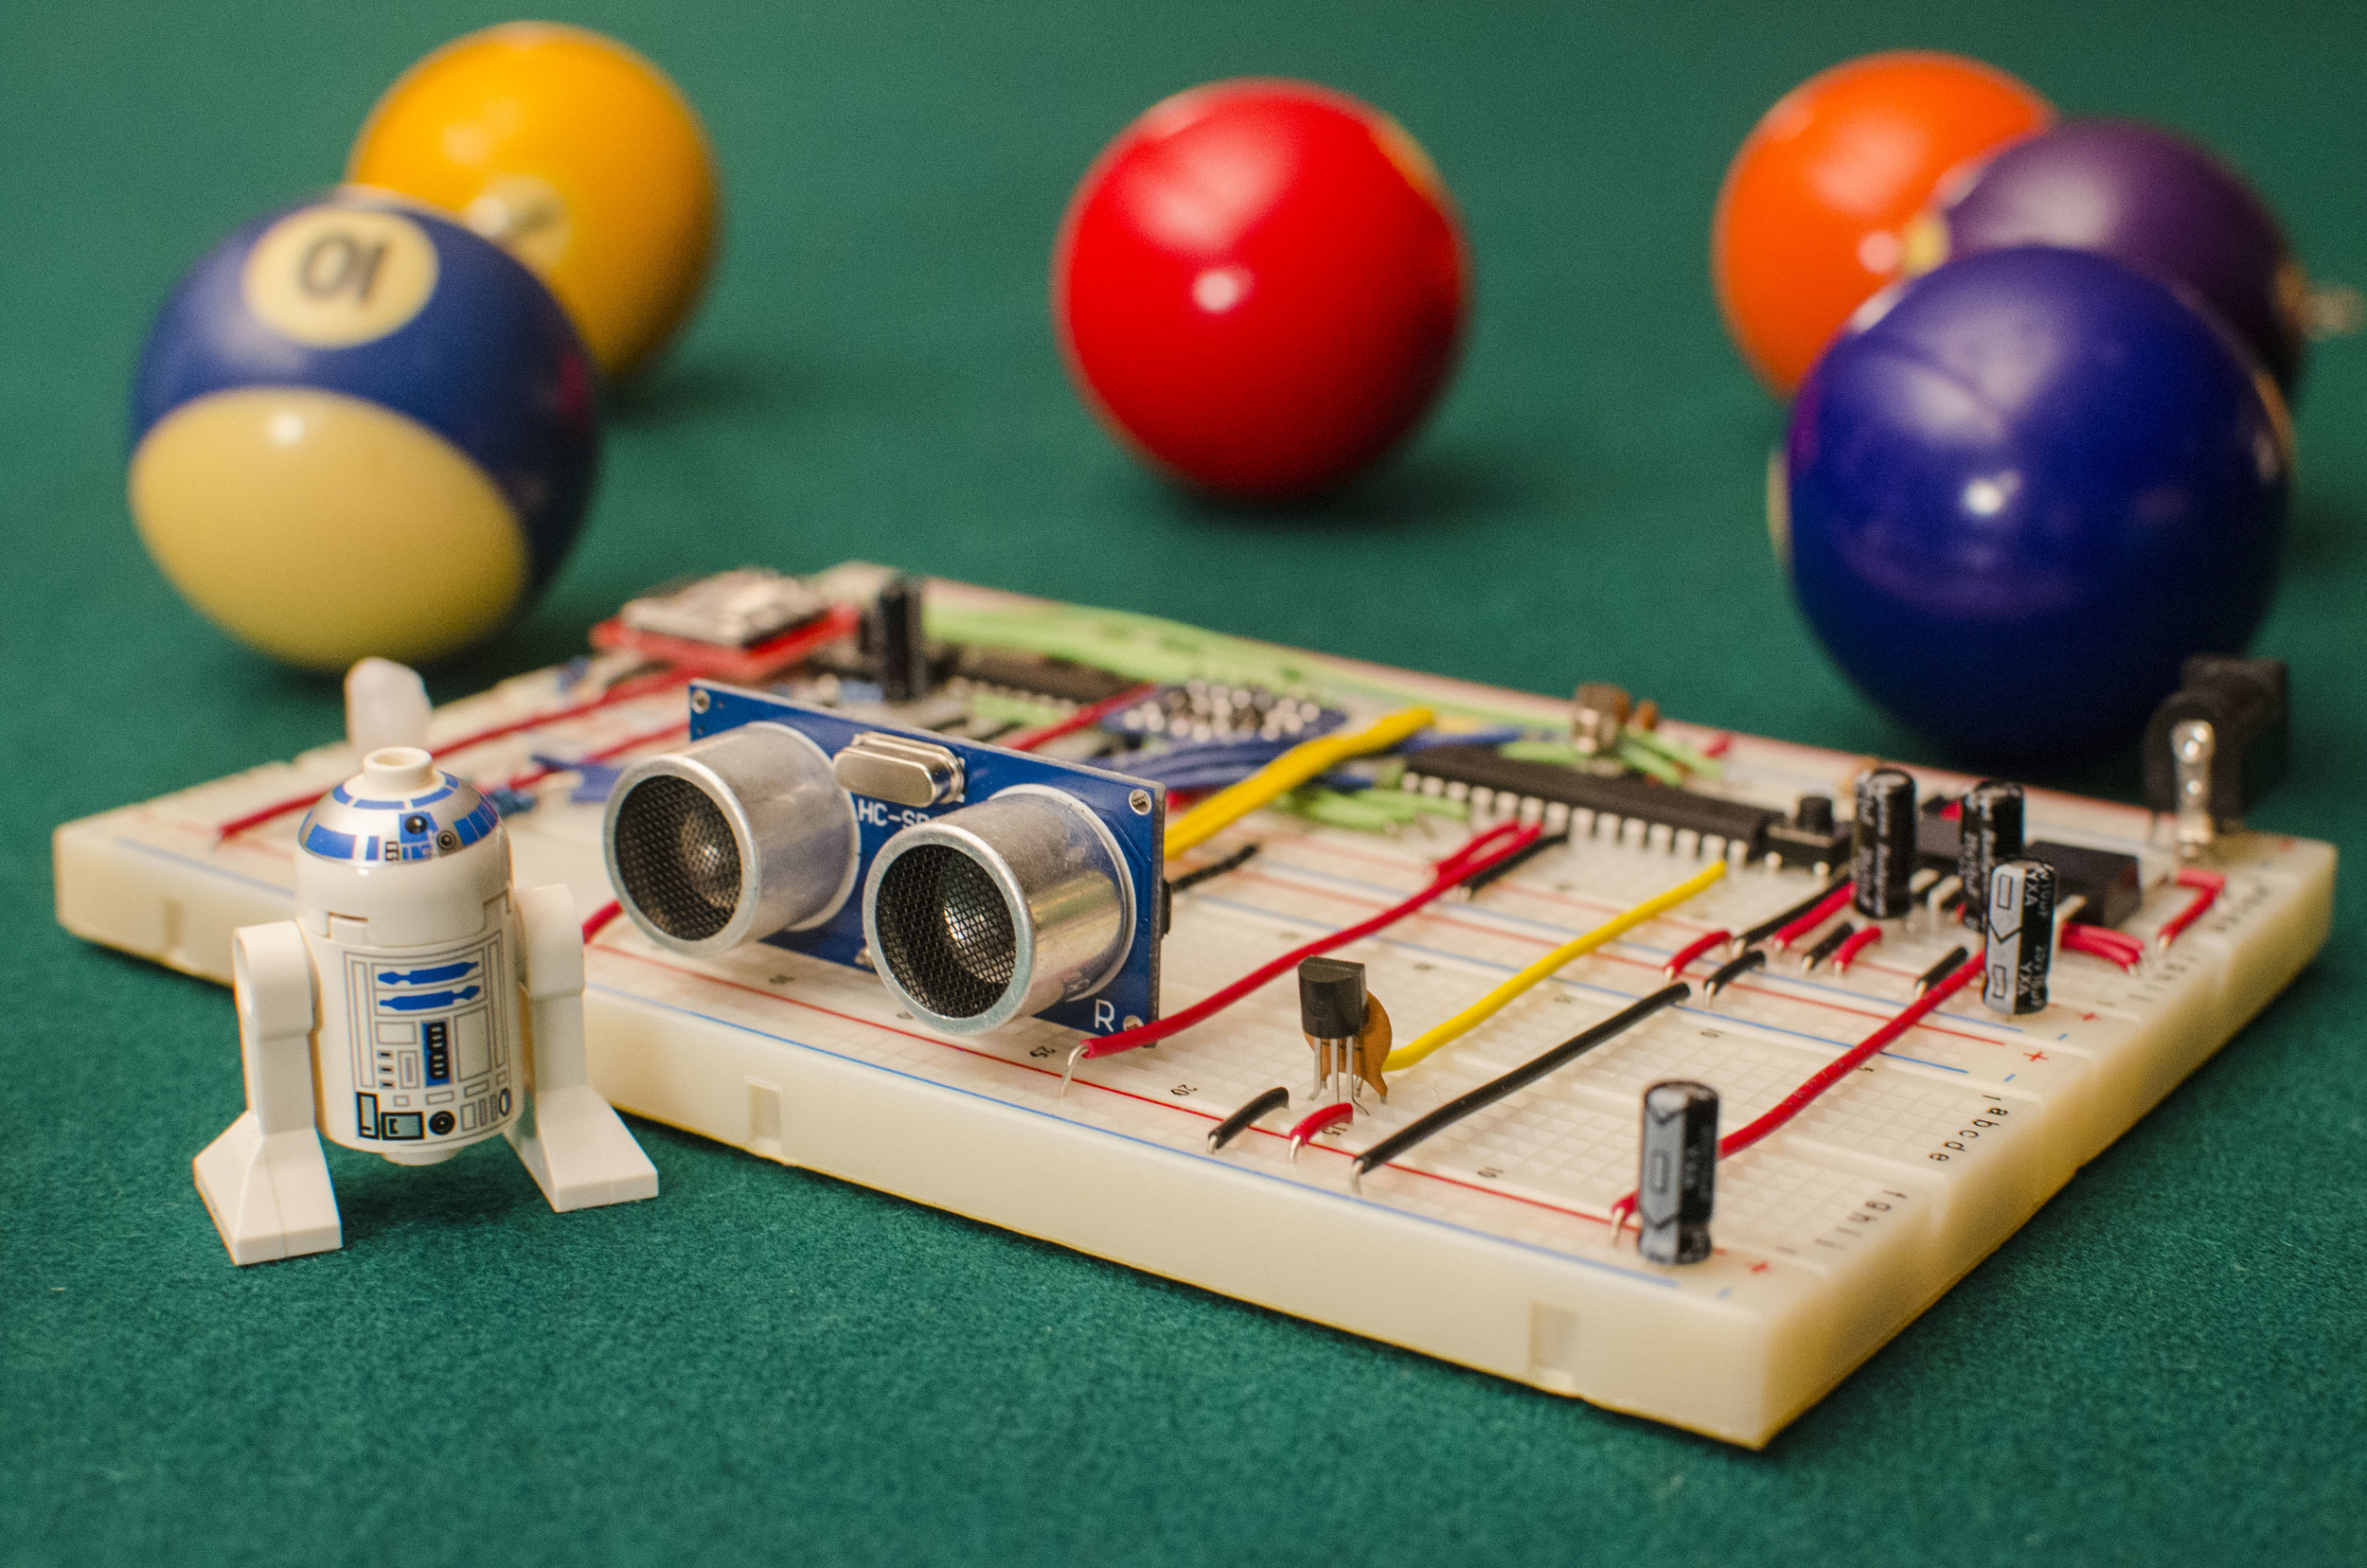
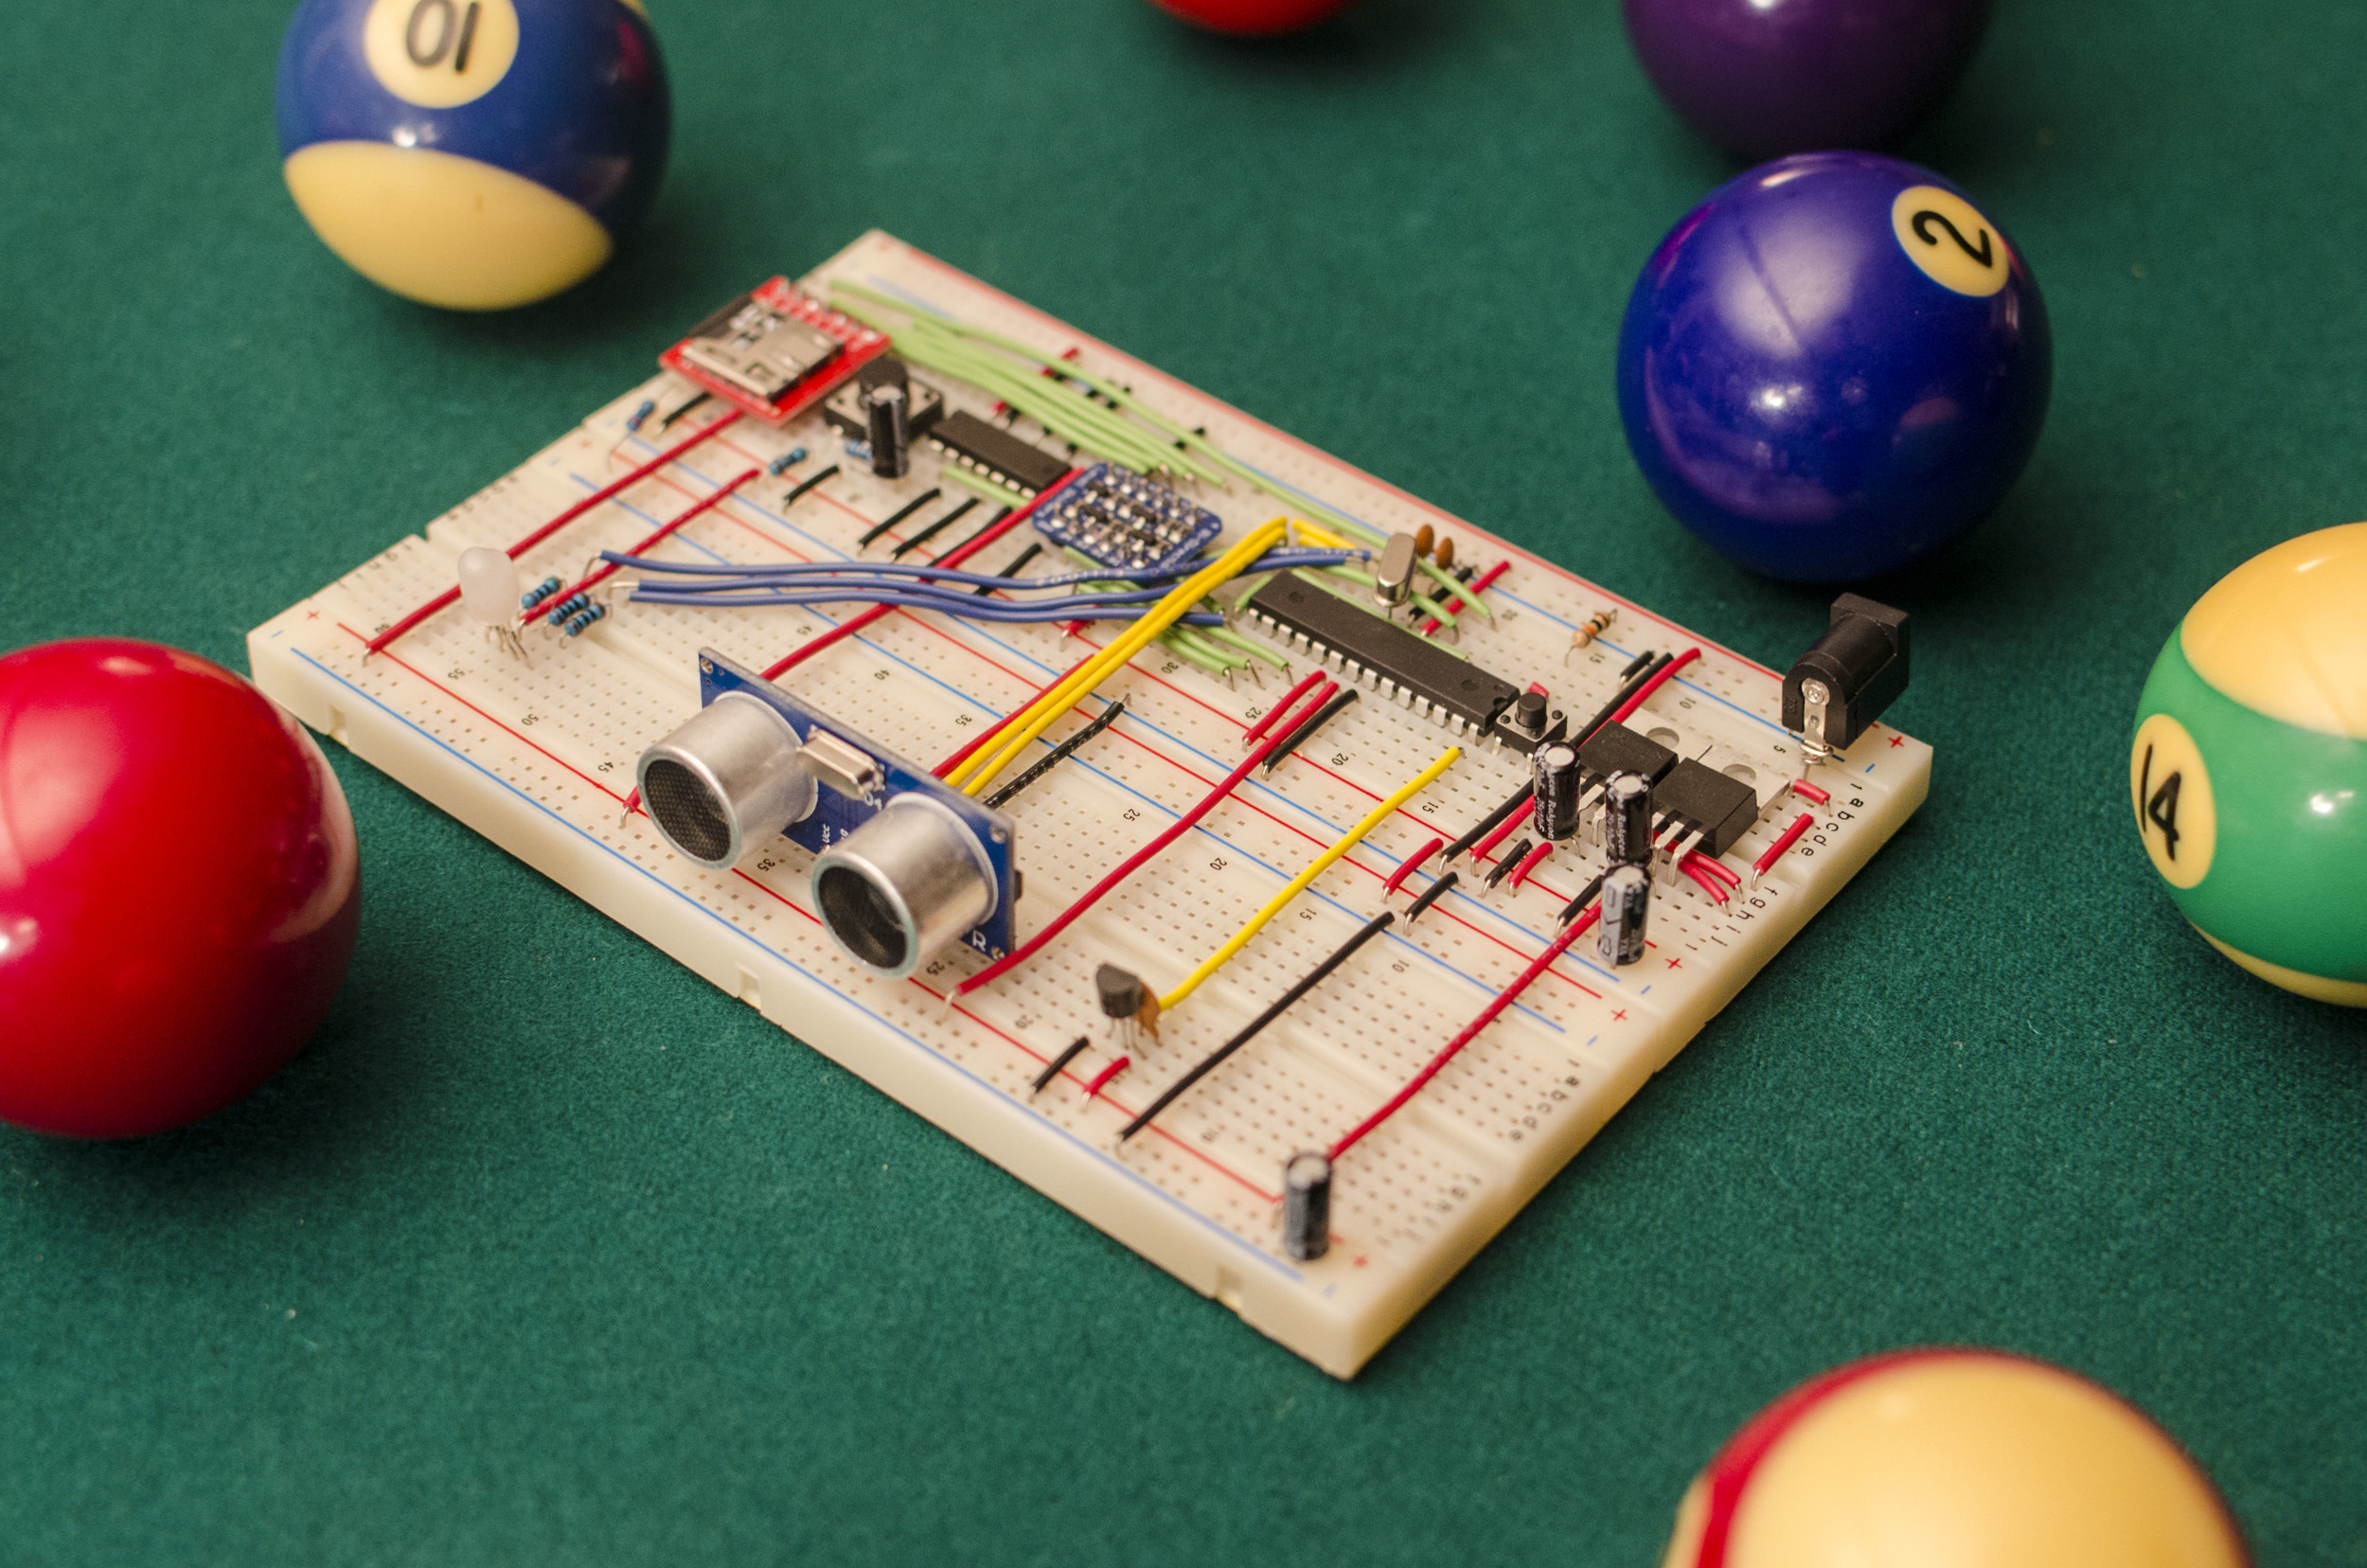
Standalone microcontroller
Most significantly, I replaced the Arduino UNO board with just an ATMEGA328P microcontroller and a few other necessary components such as the clock crystal and voltage regulators. Doing this allows me to significantly reduce the cost of the device and make it more compact. I am now working on designing a PCB.
I have chosen to use a standard barrel adapter so that it can be powered through a variety of means. Quantus can be powered through either a wall adapter or an external 9V battery. I plan to do extensive testing to determine the required power supply and Quantus' battery life.